Users & teams
In Service Scout, users can be both staff and customers. Teams group people (e.g. by company or department), and roles control what each person can see and do.
User accounts: customers vs staff
A user can represent a customer or a staff member. User accounts are enabled or disabled to control who can log in. This is set up with the expectation that customer users may sign in later (e.g. to view their issues). All new user accounts are disabled by default when created. Enable the account for staff; leave it disabled for customers until they need access.
Viewing users
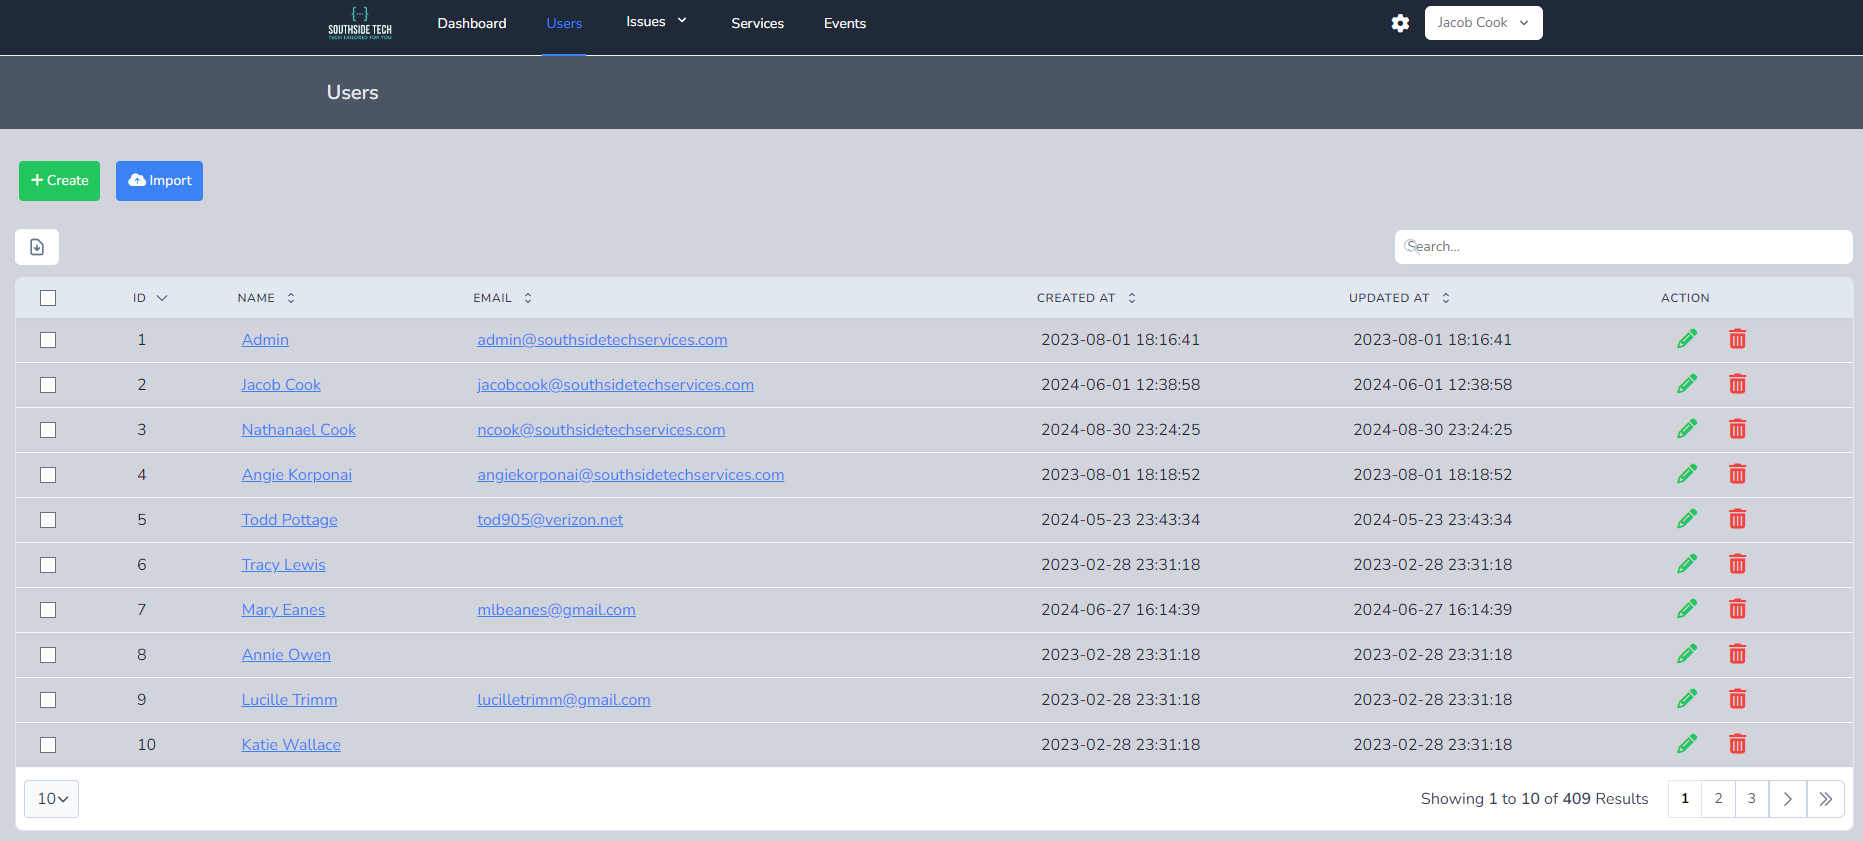
- Click Users in the top navigation bar.
- The users table shows the available fields. You can search and filter using the column headers.
- Results are paginated. Use the page numbers in the bottom-right to move between pages, and the dropdown in the bottom-left to change how many users are shown per page.
Viewing a single user
- Go to the main users table.
- Open a user by either:
- Clicking the user’s name (hyperlink), or
- Clicking the user’s email (hyperlink).
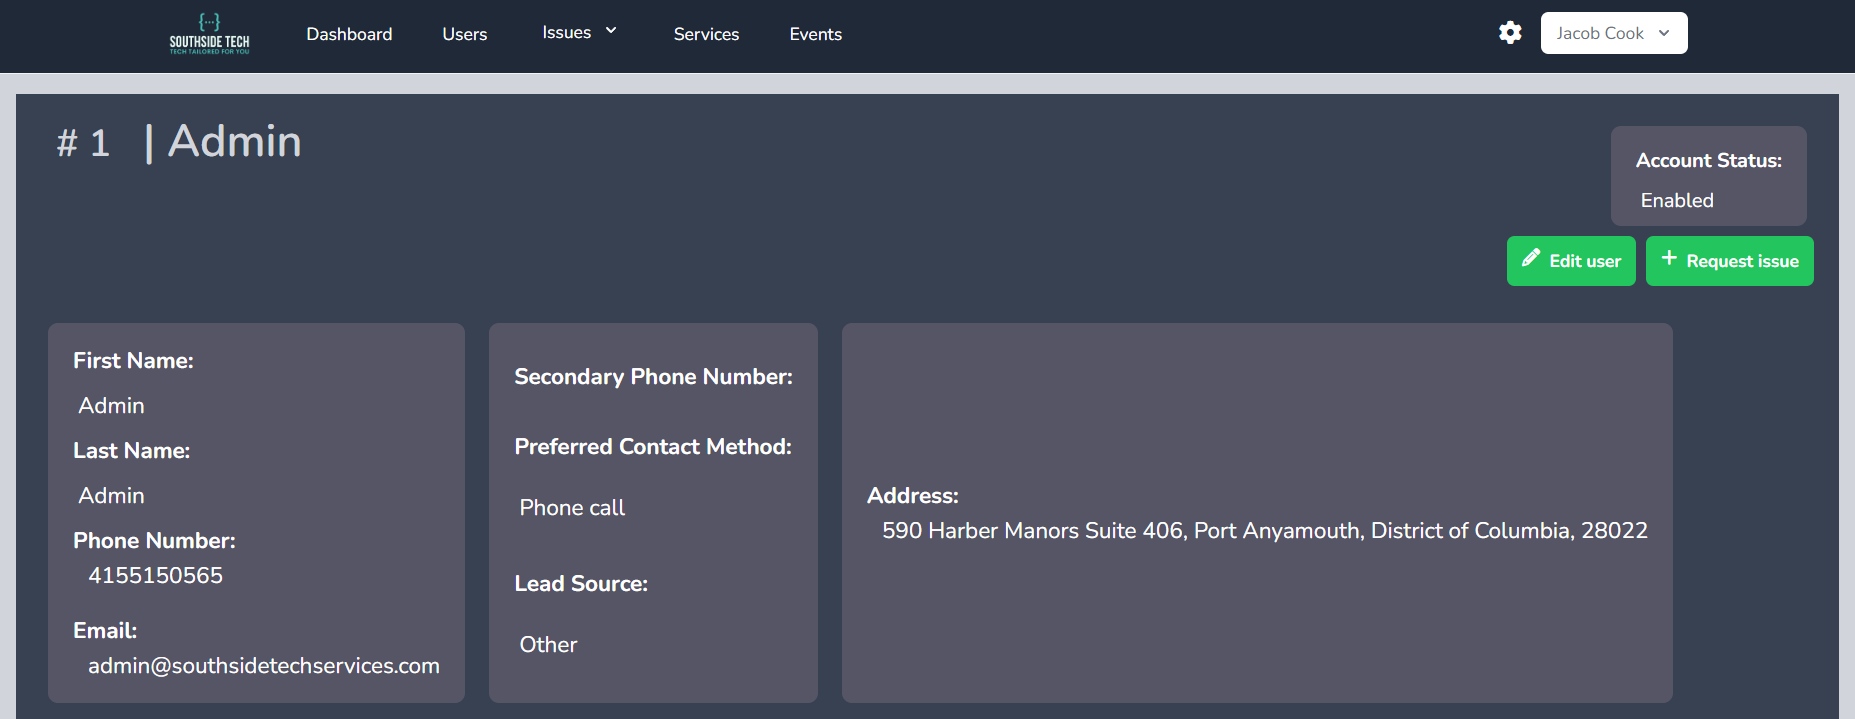
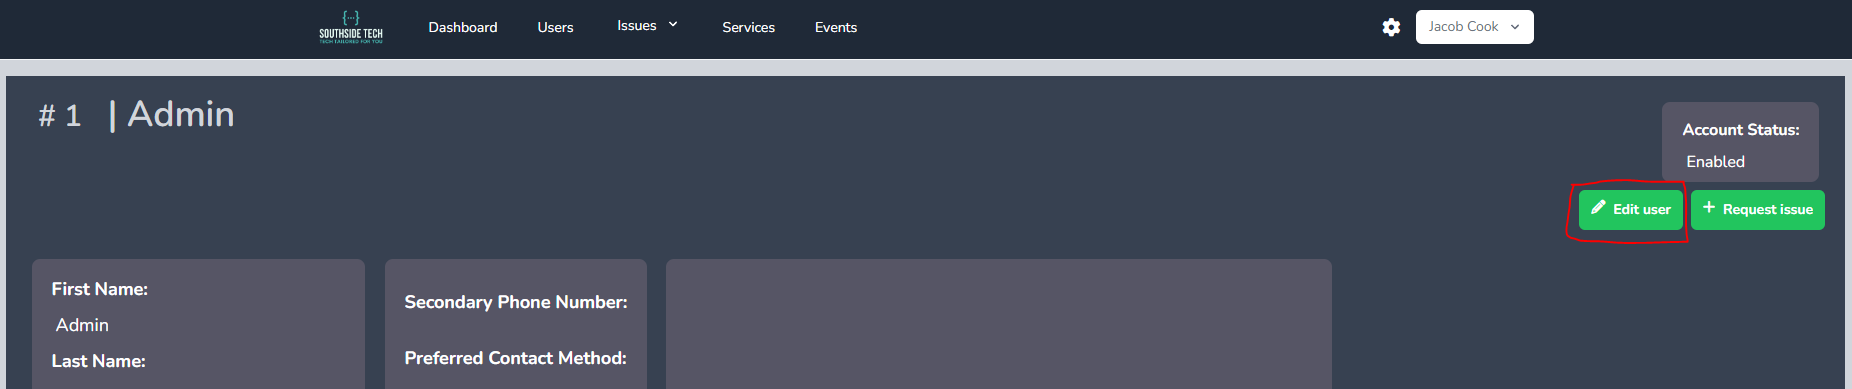
- The single-user view shows their details. You can edit the user and use Request issue to create an issue on their behalf. Email verification time may appear when the address has been verified. Email, phone number, and physical address are clickable links where applicable.
You may also see SMS messaging for this user when your workspace enables it—see SMS & messaging.
Creating users
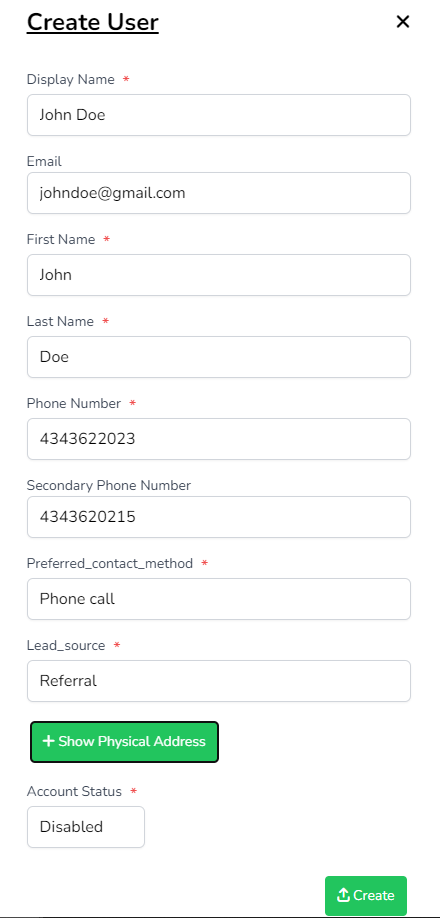
- Go to the main users table and click Create to open the creation form (often as a right slideover panel).
- Enter the required fields and any optional fields. Enter as much as you have from the customer.
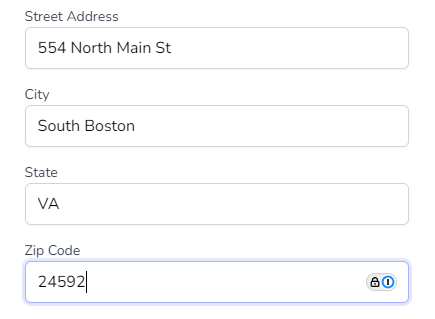
- Click + Show Physical Address to reveal address fields. Fill these in when relevant, especially for onsite visits.
- Set Account Status:
- Disabled for customer accounts (default).
- Enabled for staff accounts.
- Review the information and click Create.
Editing users
- From the table: Click the pencil icon on a user row to open the edit form (often a slideover). Change fields as needed and click Update.

- From the single-user view: Click Edit user, make your changes, and save.
Deleting users
- Go to the main users table.
- Click the trash can icon for the user to open the delete confirmation.
- Click the red Delete to confirm, or Cancel to back out.
Importing users
You can import users in bulk from the users area (e.g. from a spreadsheet). Use this to bring in many customers or staff at once.
Other actions
- Export users — Export the user list or a report (e.g. to Excel).
- Assign roles — Change which role(s) a user has (only if your role allows it).
- Sync with QuickBooks — If QuickBooks is connected, you can sync users/customers to it.
- Proposals — When enabled, open Docs → Proposals (or the proposals link on the user) to manage proposals for that customer.
If you don’t see Users or some of these options, your role may not include access—ask your admin.
Teams
Open Teams to manage teams and who belongs to them. Team membership can affect which issues and data a user sees, depending on how your organization is set up.
Roles & permissions
Roles define what someone can do—for example view issues, manage users, or assign roles to others.
Managing roles (admins)
- Go to Settings → Roles & permissions to list and edit roles.
- You can create a new role, edit an existing one (and choose what that role can do), and assign roles to users.
Only users whose role includes “assign roles” can access these settings.
Notifications
- Each user can set notification preferences under Profile → Alerts & notifications (e.g. email vs in-app, and for which events).
- Open Notifications in the main navigation for the full notification list—mark items read one by one or all at once. See Notifications.
Common notifications include: Issue created, Issue updated, Issue assigned, Issue deleted, Estimate, Invoice, User mentioned, Inbound SMS, and Proposal responses (when enabled).